We’ve all been there growing up, dreaming of what we’d put in our house when we finally left renting purgatory and got on the housing ladder. To even be able to afford a house is a feat in itself these days, so when my partner and I were lucky enough to buy our first house a few years ago I knew I wanted to turn the old coal cellar into a small sound studio. A space where I could crank it and not immediately be hated by all my neighbours, and get some clean recordings without having to wait for a plane to pass or the dishwasher to be done.
So that’s the brief, now let me get your attention with some before and after
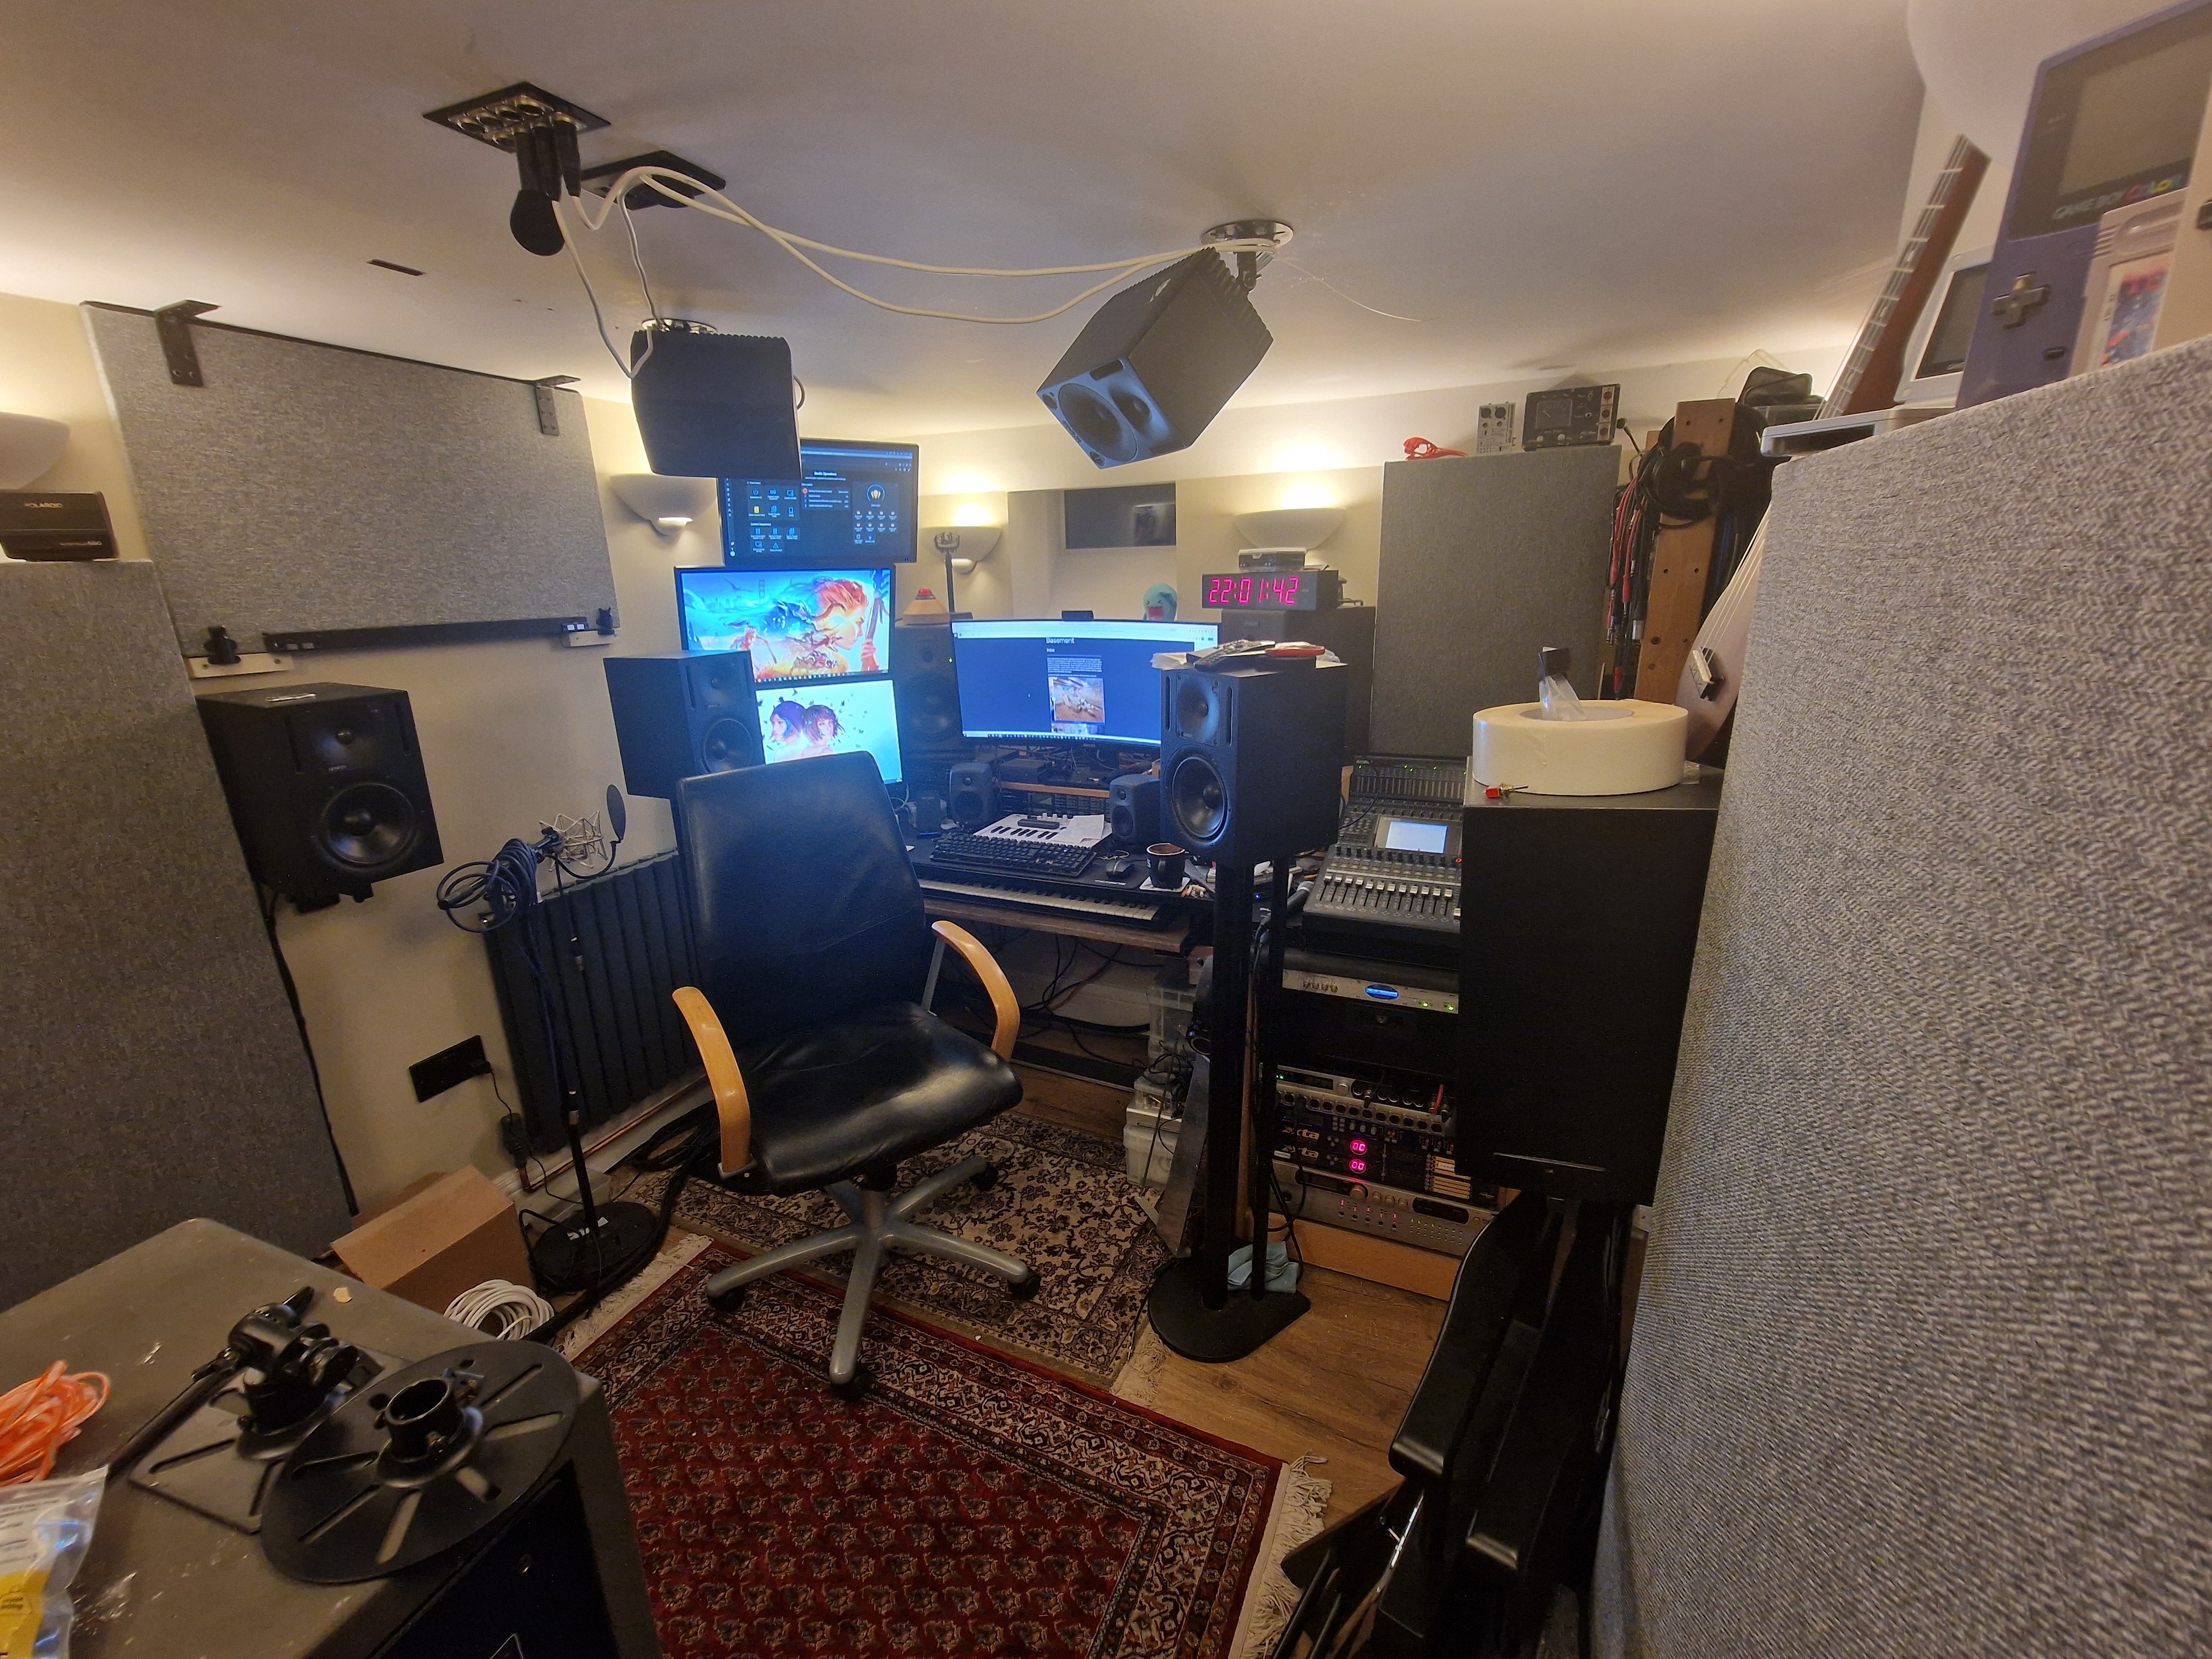
But we’re getting ahead of ourselves. During this series of blogs I want to take you through the step by step process of what it looks like for someone with limited DIY experience to undertake a pretty big renovation project mostly by themselves. I’ll be completely honest about what worked and what didn’t, what everything cost, how long everything took and how the end result turned out.
TL;DR, 2 years and ~£30K
About 2/3rds of that cost was ground works – digging, structural work and waterproofing. If you don’t need any of that then it’s a lot cheaper to build in a structurally ready room. 2 years was doing this part time alongside my full time job as a broadcast engineer. I also hold an 18th edition electrical certificate (thanks to my old work) which means I can do electrical work alongside a qualified electrician. I was lucky enough to find someone who was happy to work with me so again, that saved me a chunk. As you’ll see I’ve had pros and cons that both cost and saved me money, so it’s important to consider your own situation before committing to the cost.
Damp beginnings
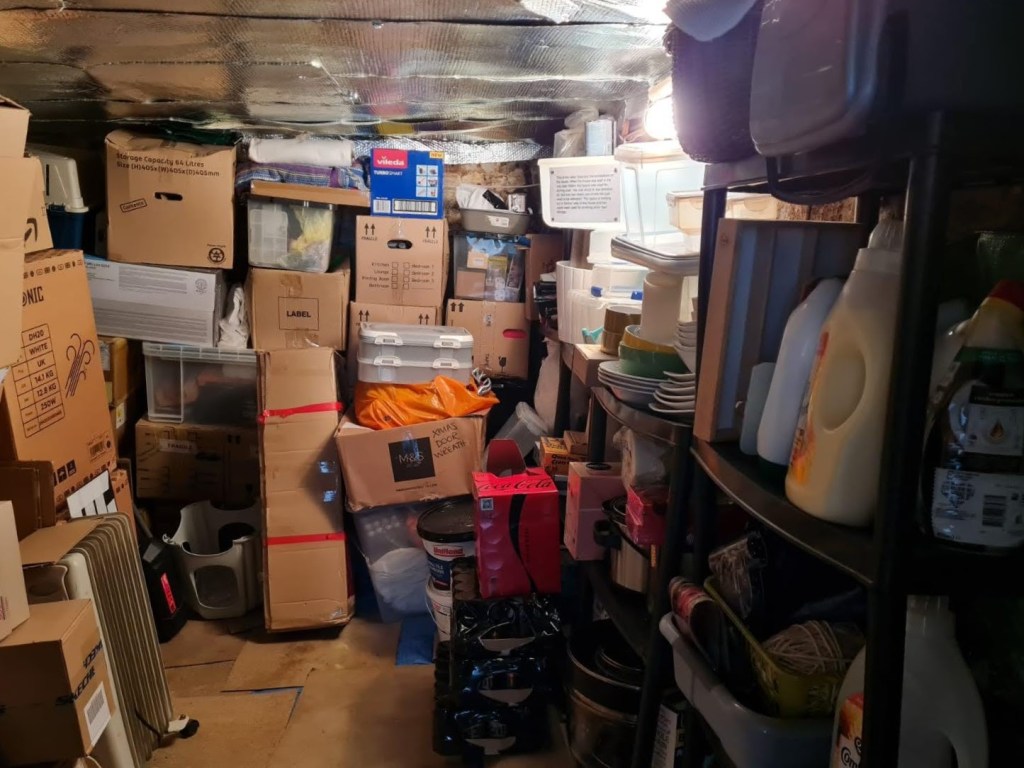
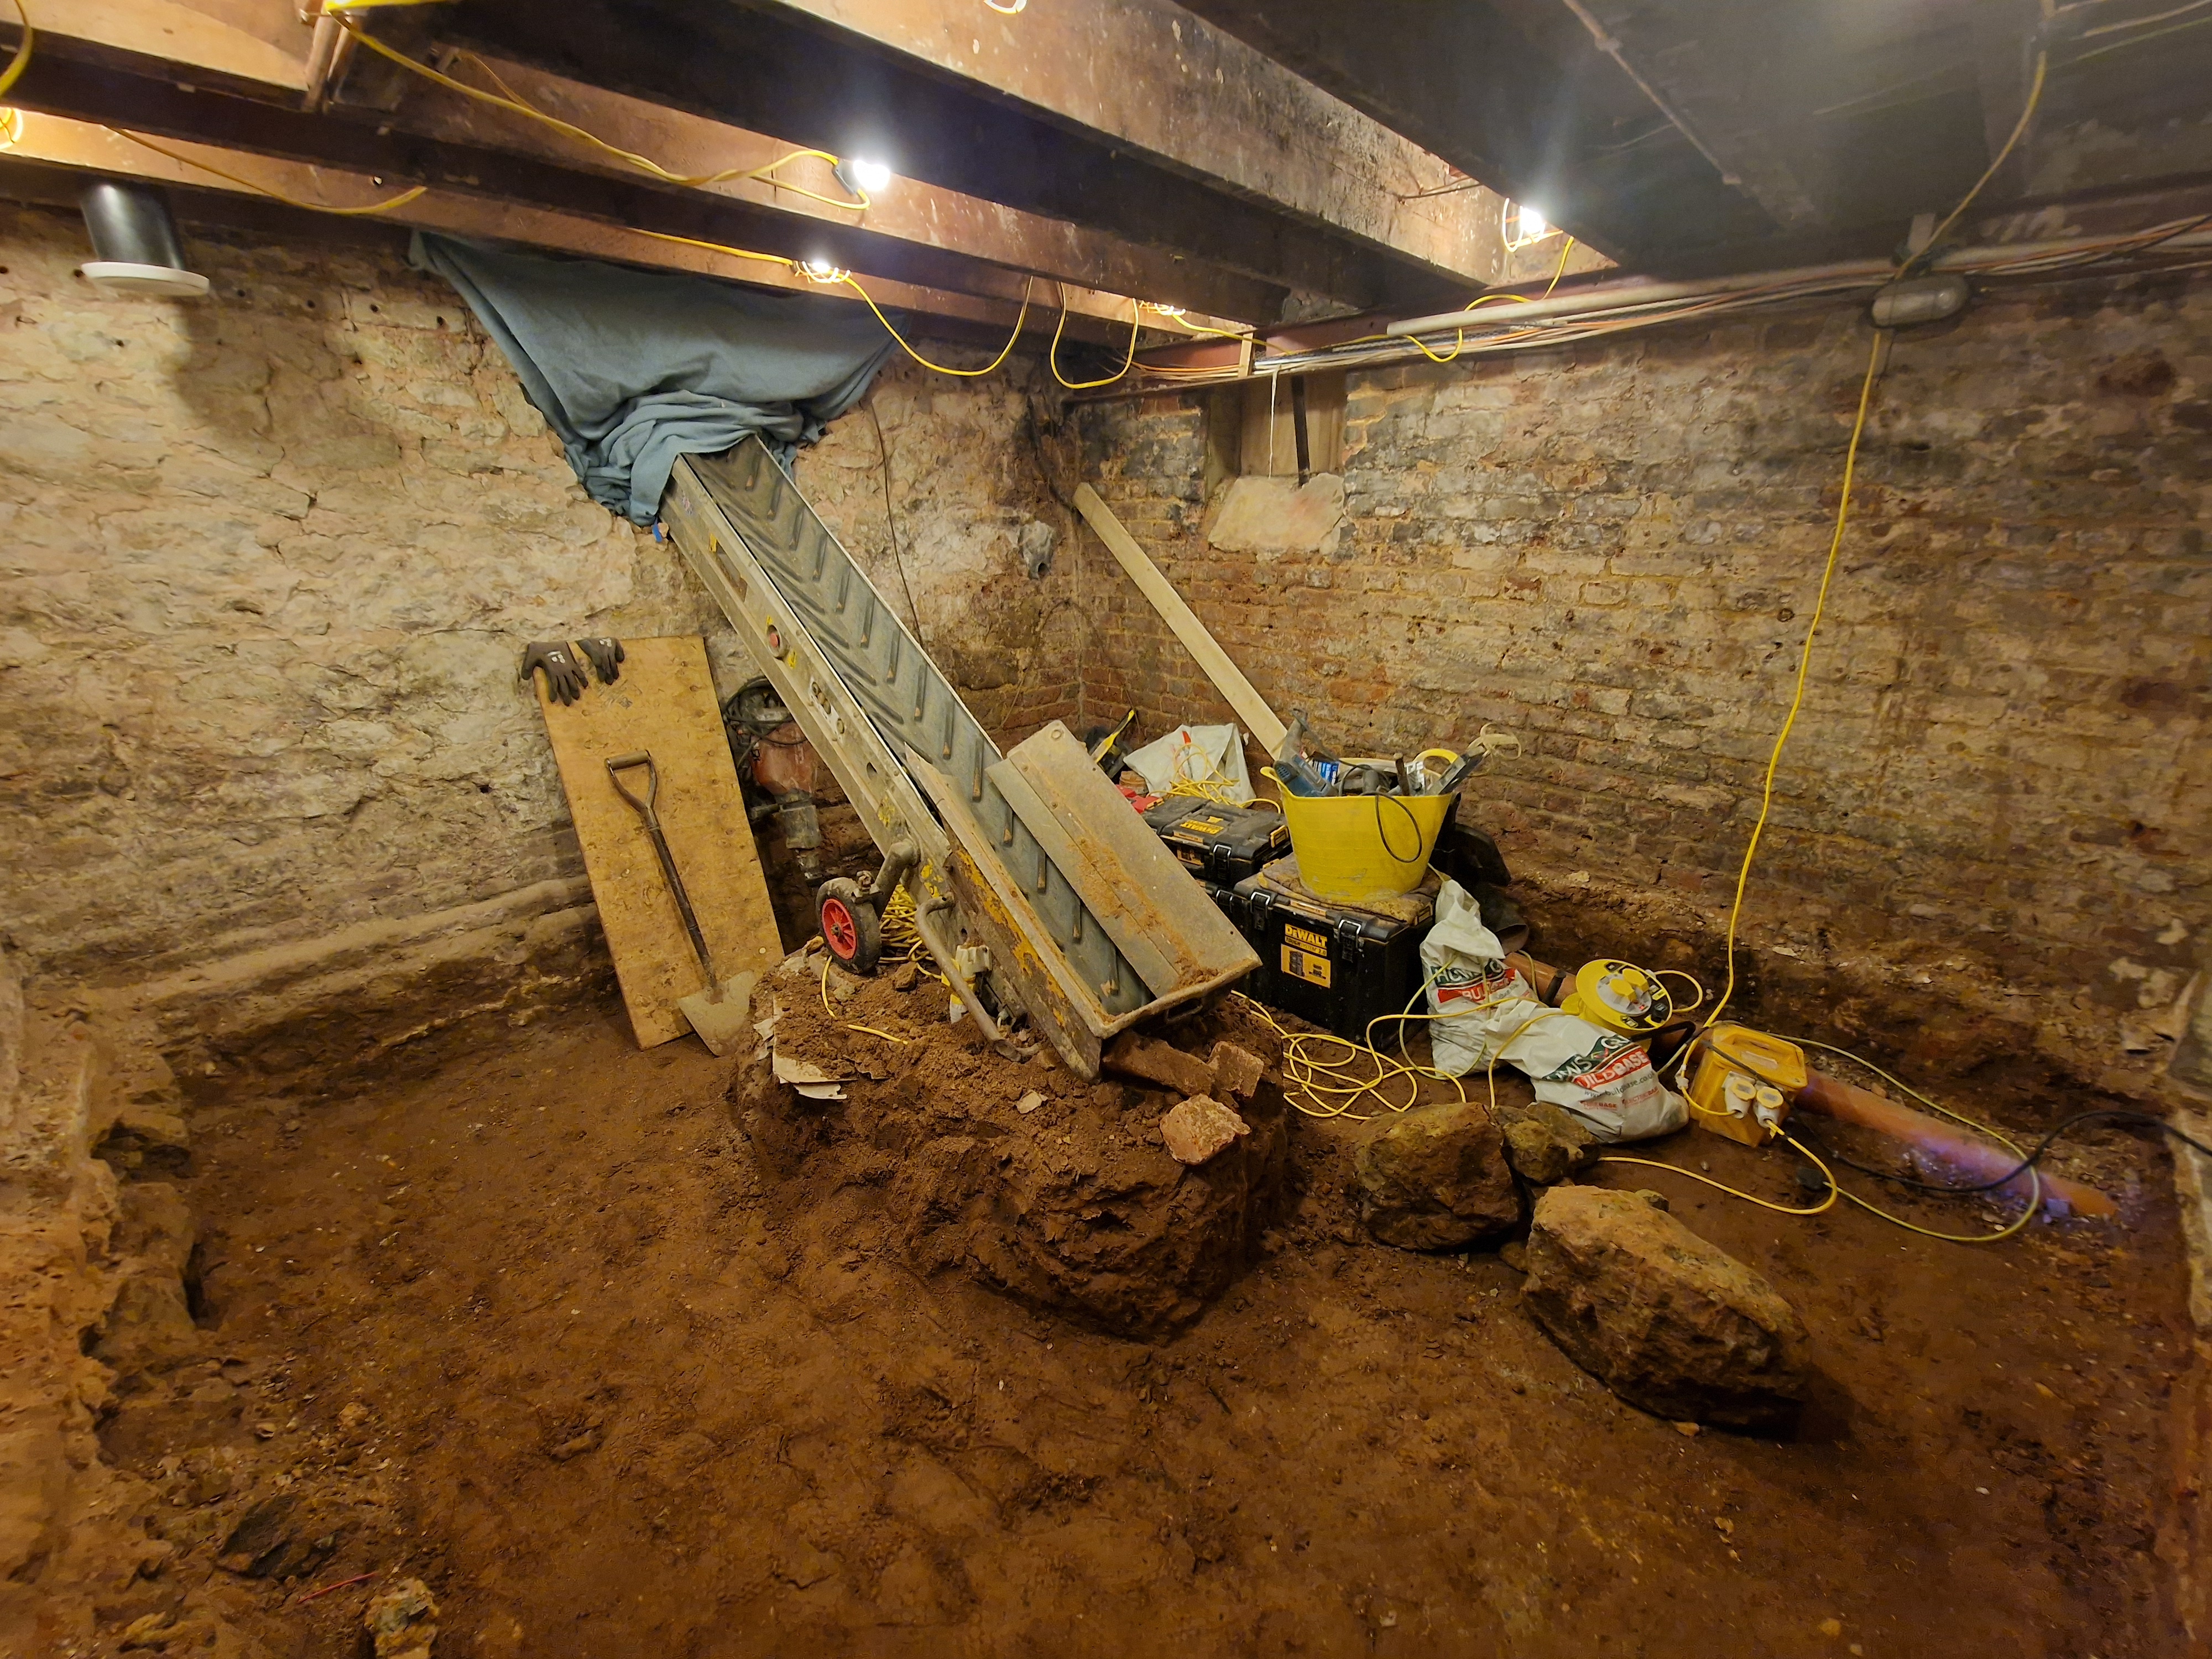
Now let’s see what we were dealing with at the start.
Oooft, the last owner stacked this sucker pretty full. This was taken during one of our viewings and we later discovered they’d put tarps on every wall to try and deal with the damp. For the uninitiated, water is one of the most destructive forces for houses and using the right solution is crucial to avoid your house becoming a mouldy husk (it’s not tarps). We’ll cover that in a future post, but lets look at the overall steps we’re going to take to get from dirt to done.
Having a breakdown (of the steps)
Here’s a run through of the steps I’ll cover. I’ll link each blog post as I complete it for easy reference.
- Planning / Design Details / Tools
- Ground Works / Structural / Waterproofing
- Framing / Internal Wall Building / Internal Insulation
- Utilities / Electrical Work / Plumbing
- Data Cabling / Cable ducting
- Ventilation
- Plasterboarding / Air Sealing
- Doors (Doors? Yup, this gets it’s own post)
- Finishing / Fixing
For the time being I won’t be covering things like acoustic room treatment, or anything after construction is done – that is outside the scope of this series and there are plenty of great resources for how to approach it online.
I’ll keep this first post short, but if you have any questions about these posts or just want to chat, get in touch via the contact page and I’ll get back to you when I can.
– Clock/Cat

Leave a comment